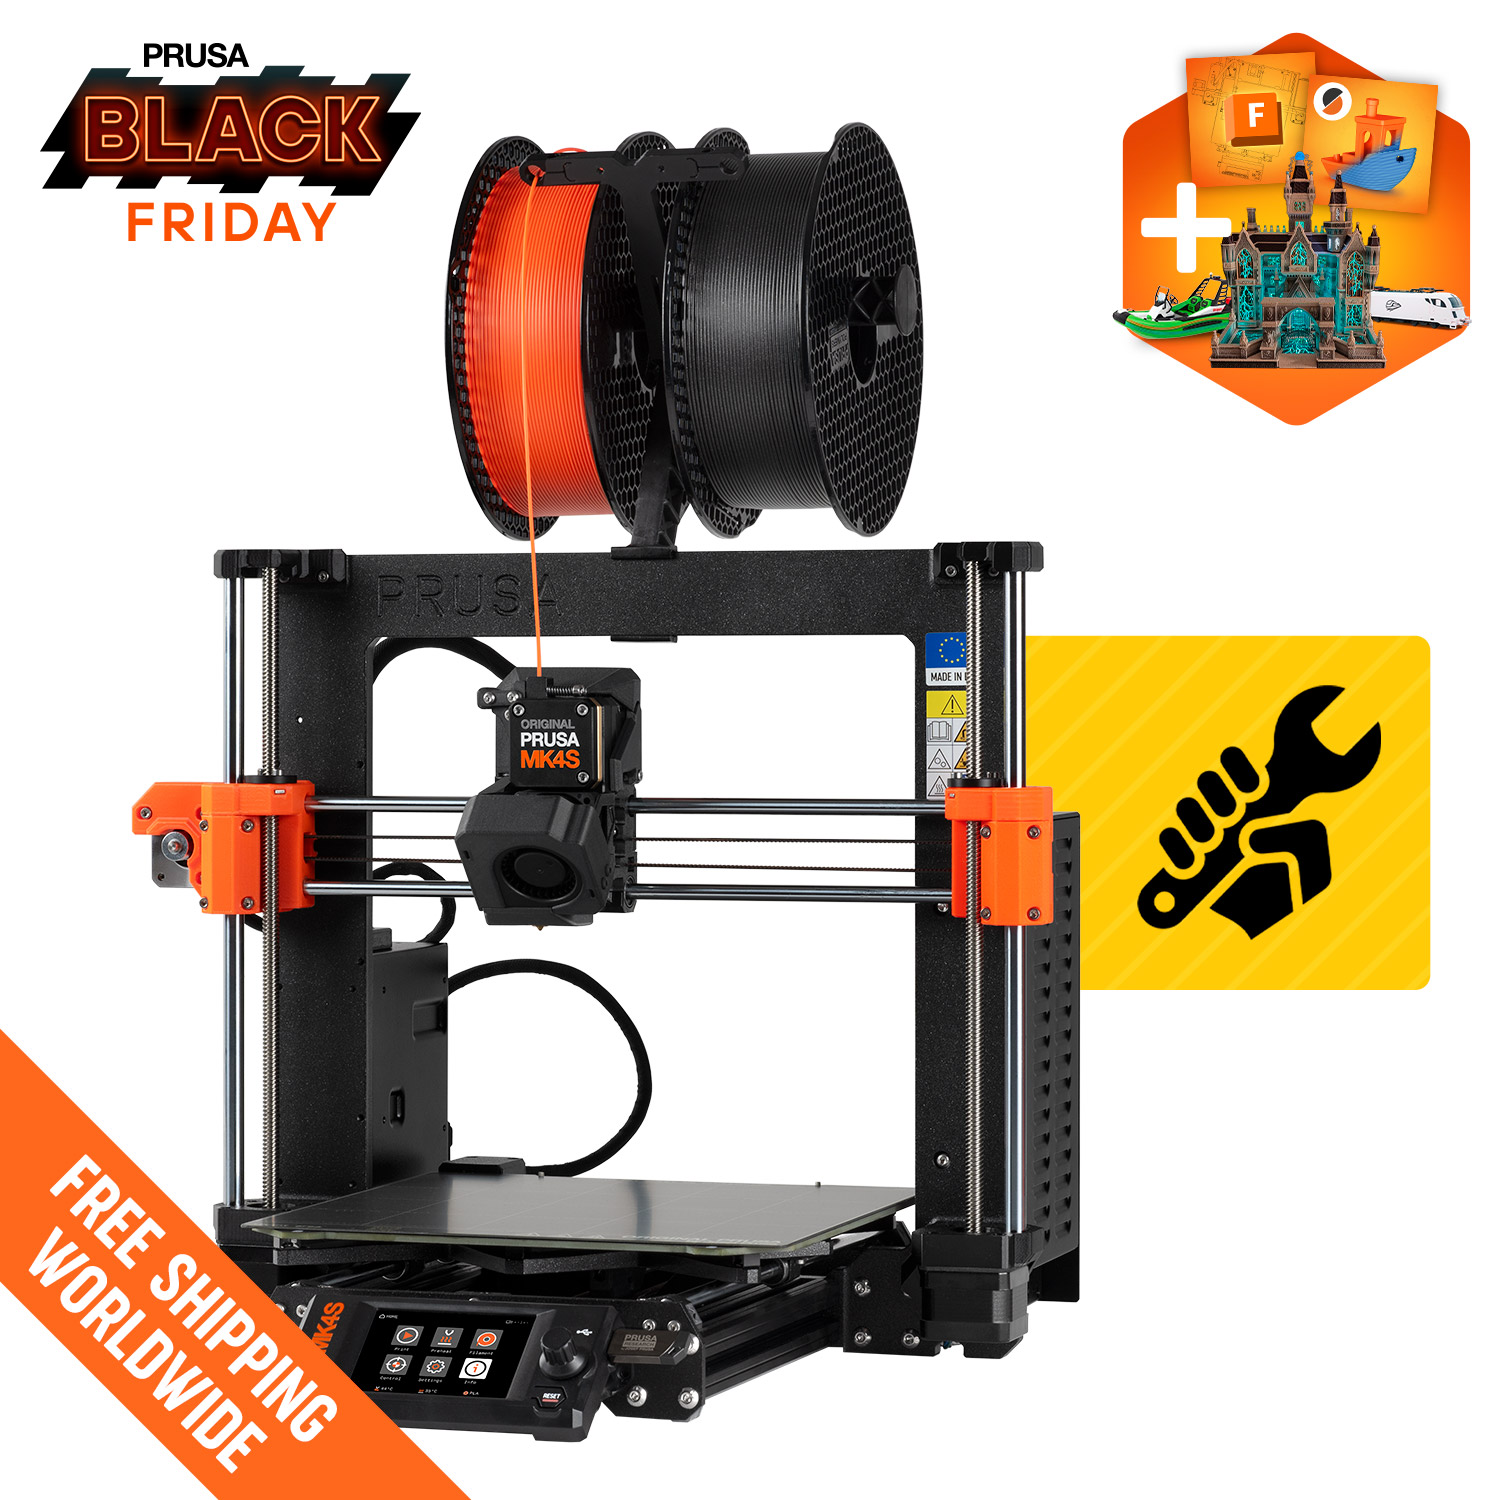

Original Prusa MK4S Kit: A Reliable Workshop Printer for PLA and PETG
Build the MK4S yourself, learn how it works, and pair it with Prusament PLA and PETG, a satin sheet, and a cheap drying and storage setup.
This is an example guide
Why the MK4S kit
The MK4S is an open-frame bed-slinger with a 250 × 210 × 220 mm build volume. It's slower to arrive than an all-in-one box printer because you assemble it yourself, and that's the point. By the end you know every belt, screw and cable on the machine, so fixing or upgrading it later is easy. Parts are easy to get, the printed and online assembly manuals are excellent, and Prusa keeps updating the firmware.
The Nextruder has a load cell built in, so the printer measures the bed itself before every print. There's no Z-offset to babysit and no paper test. Input shaping is on by default, so it prints quickly without ringing.
If you'd rather skip assembly, the assembled MK4S costs more but is the same printer.
What's in this build and why
Printer: Original Prusa MK4S kit. Plan for an afternoon to a full day of assembly. Follow the manual step by step, sort the screws into the labelled bags as you go, and don't skip the belt-tension check at the end. The setup wizard walks you through the rest.
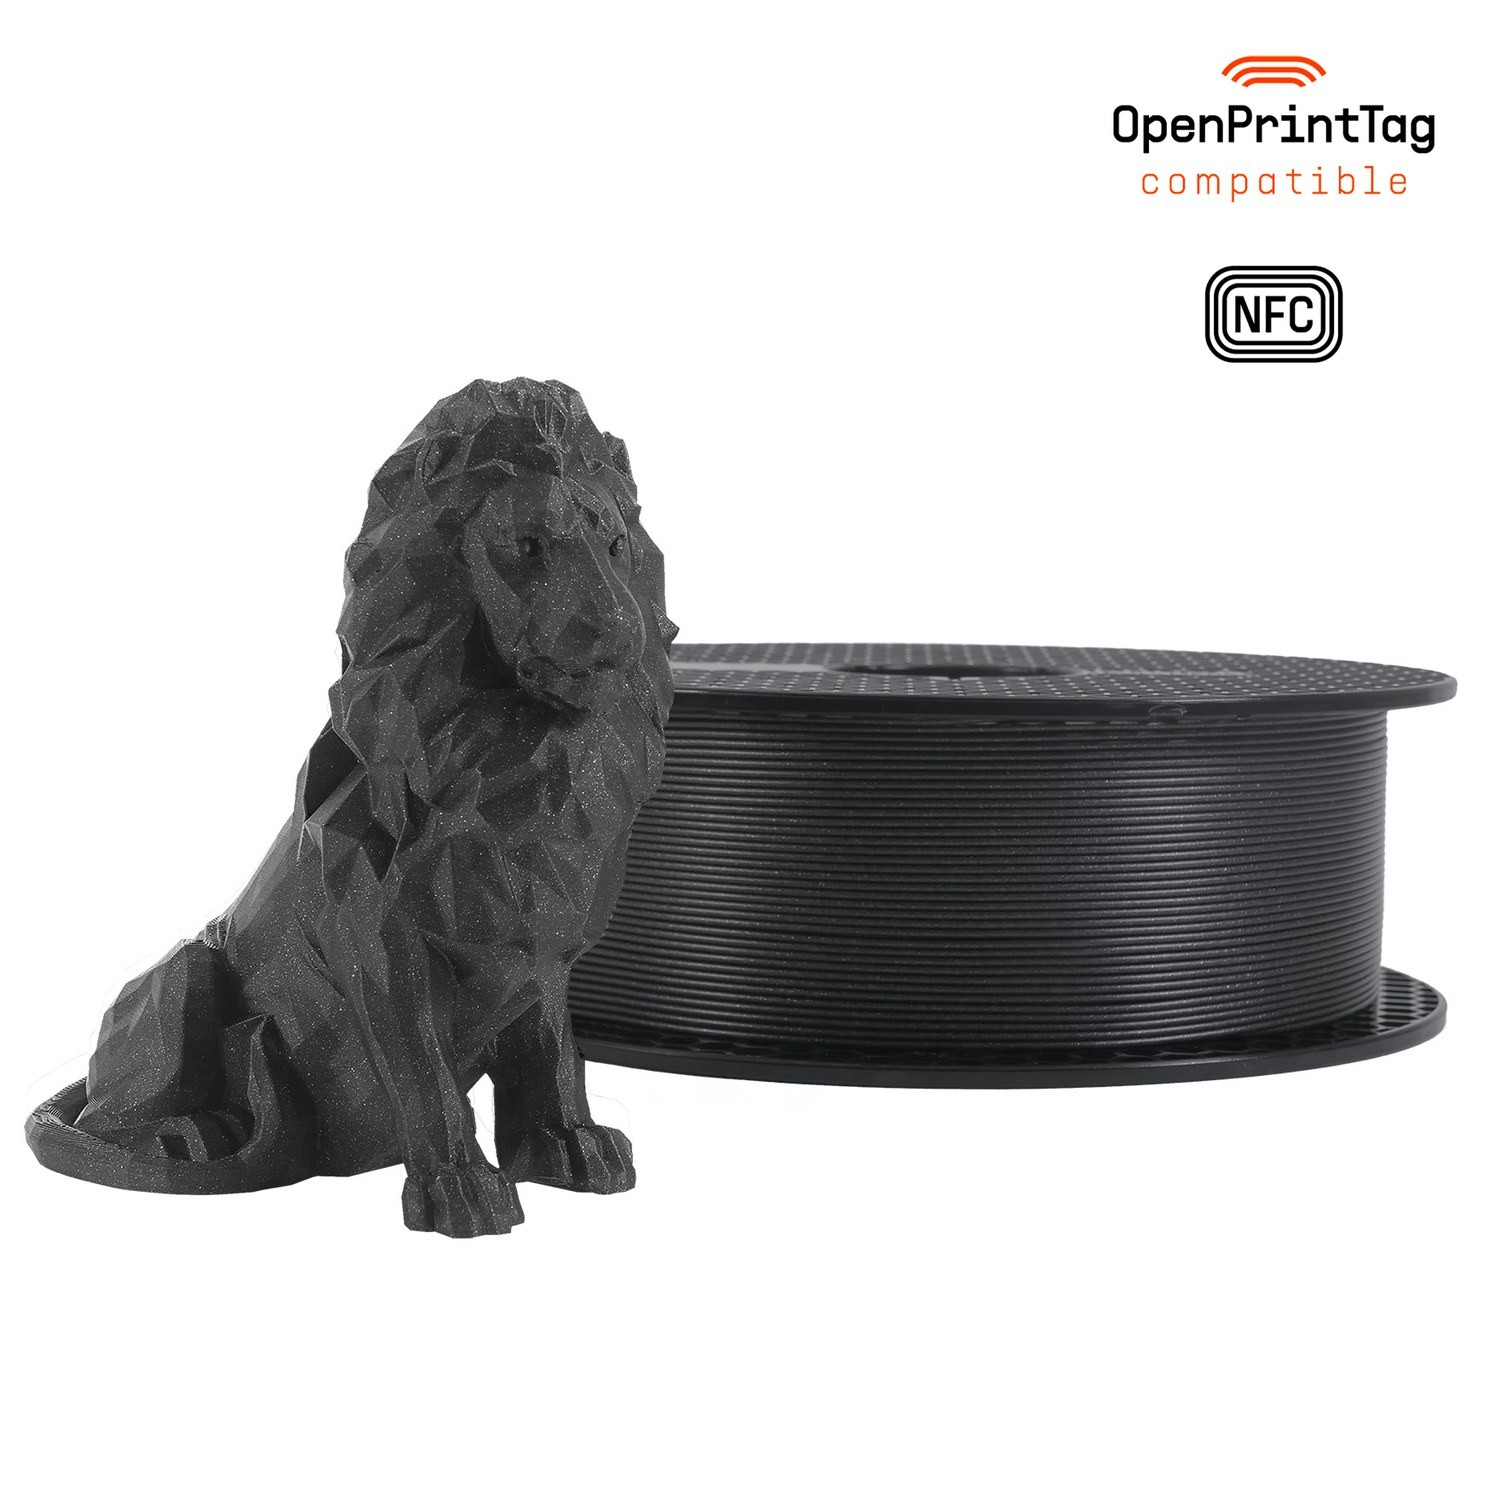
Filament: Prusament PLA (Galaxy Black). Prusament is made by Prusa, has tight diameter tolerances, and has a ready-made profile in PrusaSlicer. Galaxy Black has a glittery finish that hides layer lines well.
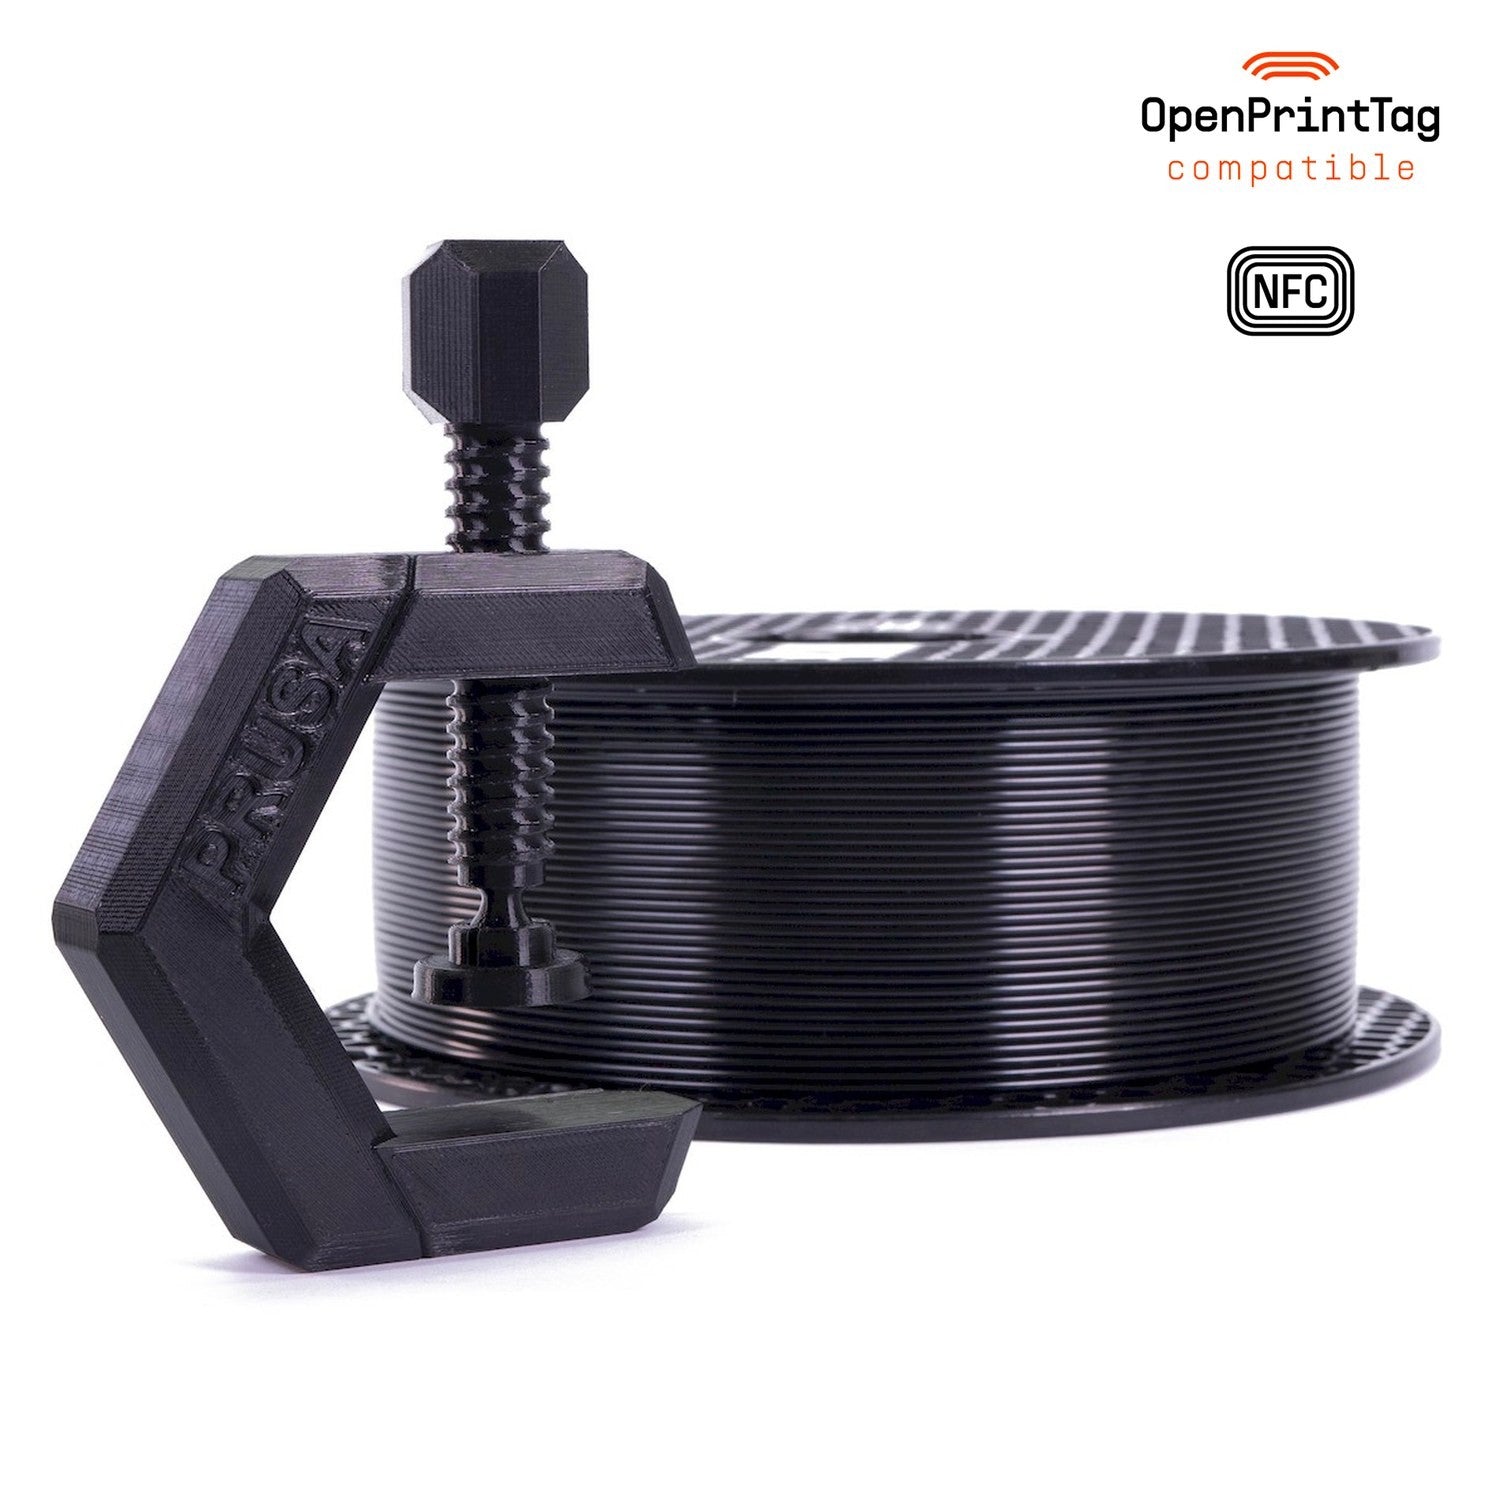
Filament: Prusament PETG (Jet Black). PETG is tougher and more heat-resistant than PLA, so use it for brackets, enclosures and anything that lives in a car or outdoors. The MK4S handles it well with the stock PrusaSlicer profile.
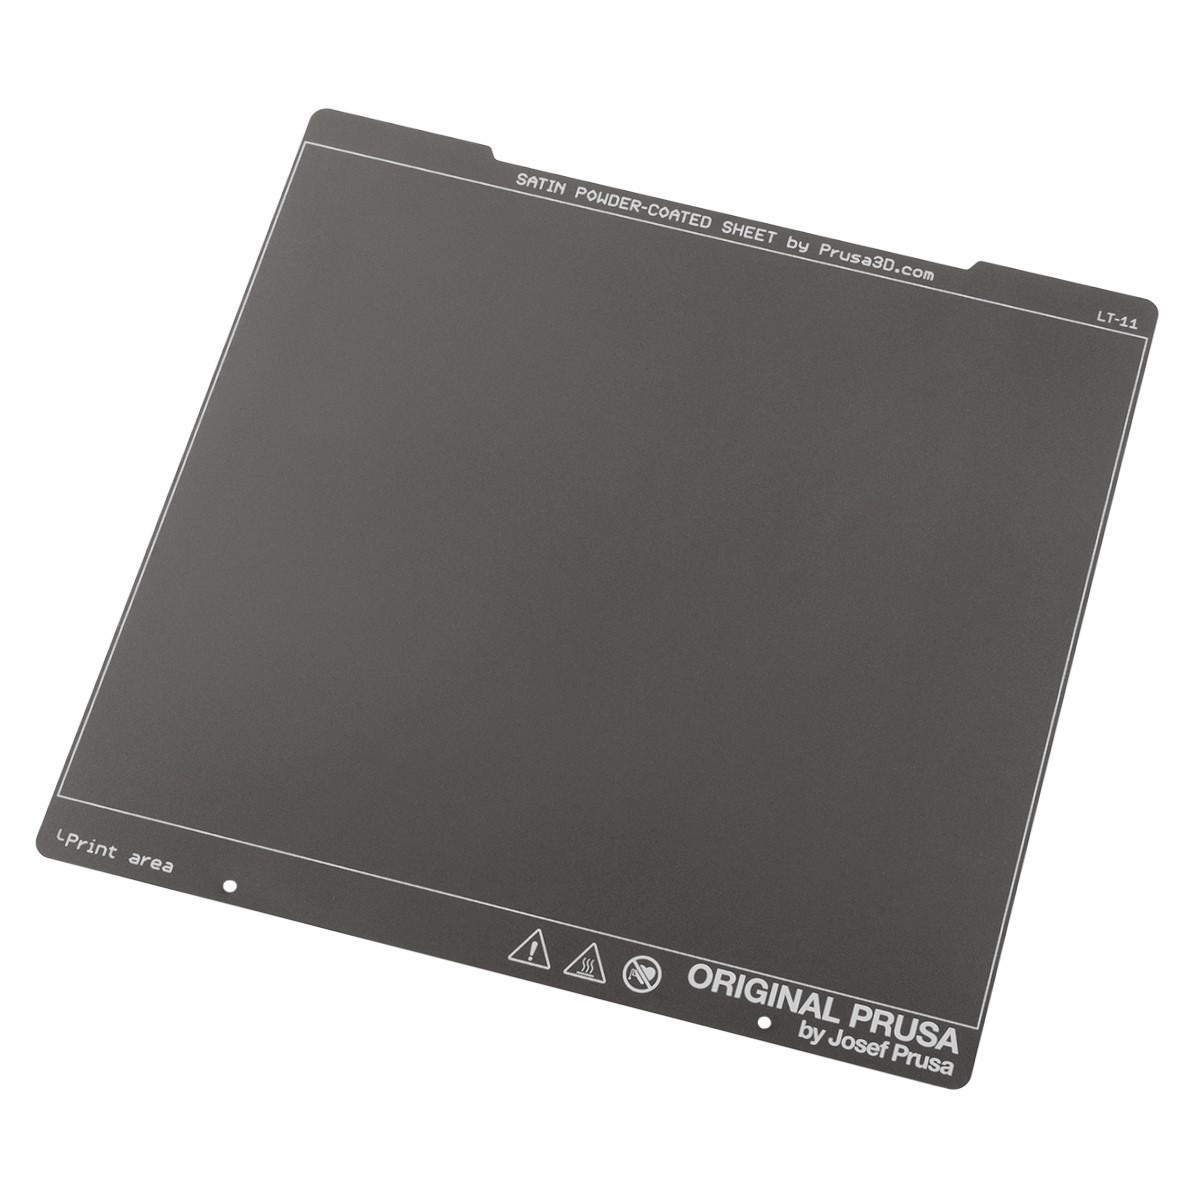
Build plate: Satin powder-coated sheet. This is the important one for PETG. PETG can bond so strongly to smooth PEI that it tears chunks out of the sheet. The satin finish holds well while printing and releases once cooled, and it leaves a nice matte bottom surface. Flex the sheet slightly to pop parts off.
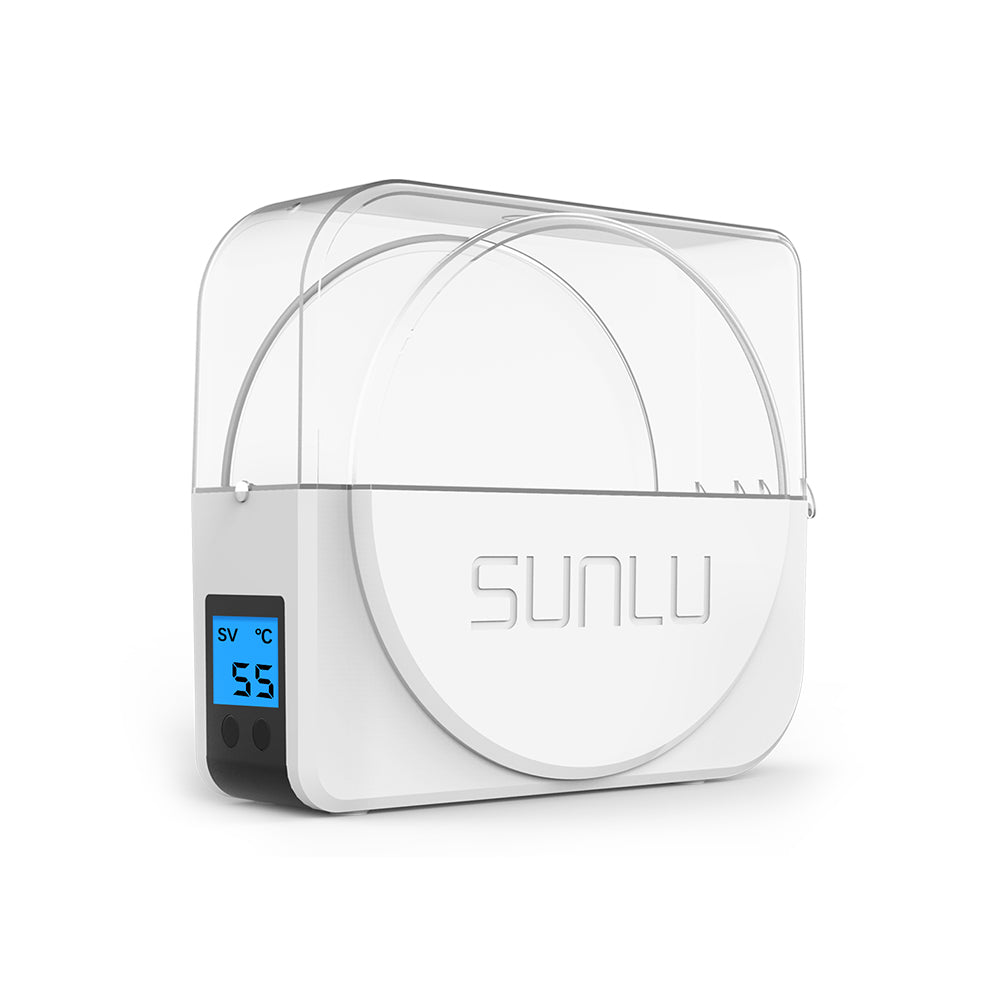
Dryer: SUNLU S1 Plus. PETG picks up moisture from the air within days. You'll see stringing, popping and rough surfaces. Dry it at about 65 °C for 4–6 hours before long prints. PLA is less sensitive, but it helps old spools too.
Accessory: silica gel desiccant (500 g). Keep opened spools in sealed bins or bags with a few scoops of desiccant. It's much cheaper than re-drying everything. Recharge the desiccant according to its instructions when it's saturated.
Settings that save headaches
- In PrusaSlicer, pick the exact filament profile (Prusament PLA / Prusament PETG) rather than a generic one.
- For PETG, turn part cooling down compared with PLA, and slow down overhangs if you see curling.
- Clean the sheet with isopropyl alcohol between prints, and wash it with dish soap now and then to remove grease.
- Before the first print, run the full calibration wizard, even if the printer seems fine.
What this setup isn't great at
It has no enclosure, so ABS and ASA will warp on big parts unless you build or buy one. If engineering materials are your main goal, look at an enclosed printer instead. For PLA, PETG and TPU, this is one of the most dependable setups you can buy.
Prices update automatically from the stores we track, so check the total above before you buy.
Advertisement
Build Parts & Store Pricing
All components in this build with latest merchant pricing.
Compatibility: no issues found.