
Bambu Lab P1S Starter Setup: Everything to Buy on Day One
An enclosed Bambu Lab P1S plus the few extras that actually matter: PLA and PETG to start with, a spare textured plate, a hardened nozzle for carbon-fiber filaments, and a dryer.
Why the P1S
The P1S is an enclosed CoreXY printer with a 256 × 256 × 256 mm build volume. It is fast out of the box, needs almost no tuning, and the enclosure means you can move on to ABS and ASA later without buying anything else. If you want one printer that handles PLA today and tougher materials next month, this is a very safe pick.
If you already know you want multicolor printing, look at the P1S Combo, which adds the AMS. You can also add an AMS later, so the plain P1S is fine to start with.
What's in this build and why
Printer: Bambu Lab P1S. It ships with a textured PEI plate and a 0.4 mm stainless steel nozzle, so you can print straight away.
Filament: Bambu Lab PLA Basic (spool). Start with PLA. It has a ready-made profile in Bambu Studio, it's forgiving, and it's what most models on MakerWorld and Printables are tuned for. Buy the spooled version first; the cheaper refills need a reusable spool.
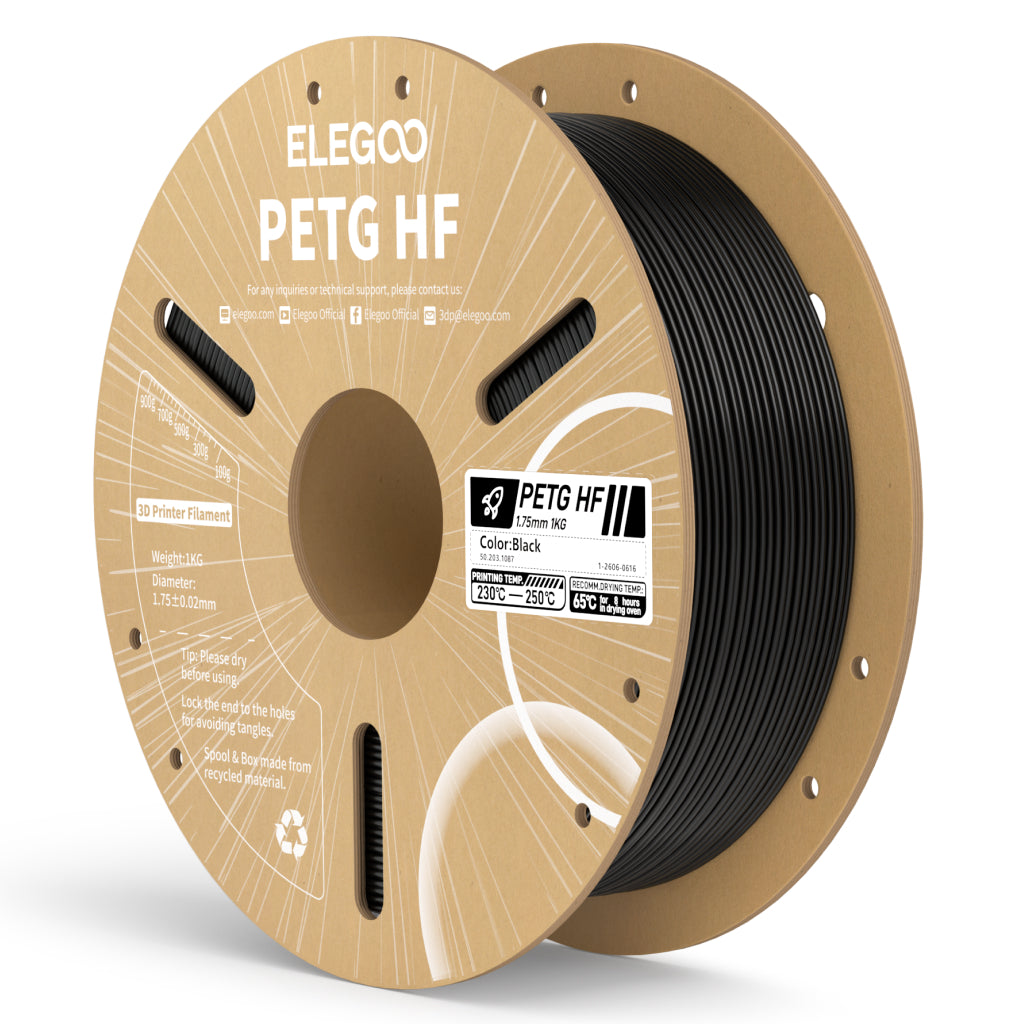
Filament: PETG HF. PETG is the next step when you need parts that survive heat and sunlight better than PLA (car mounts, outdoor brackets, anything that gets warm). Use the generic PETG HF profile, print a little slower than PLA, and keep the door or top lid cracked open. PETG doesn't need the heat build-up that ABS does.
Build plate: a spare textured PEI plate. Plates get scratched, and a second one means you can pull a finished print and start the next one straight away. Textured PEI holds PLA and PETG well and releases them easily once it cools. Clean it with dish soap and warm water when adhesion starts to slip. That fixes most first-layer problems.
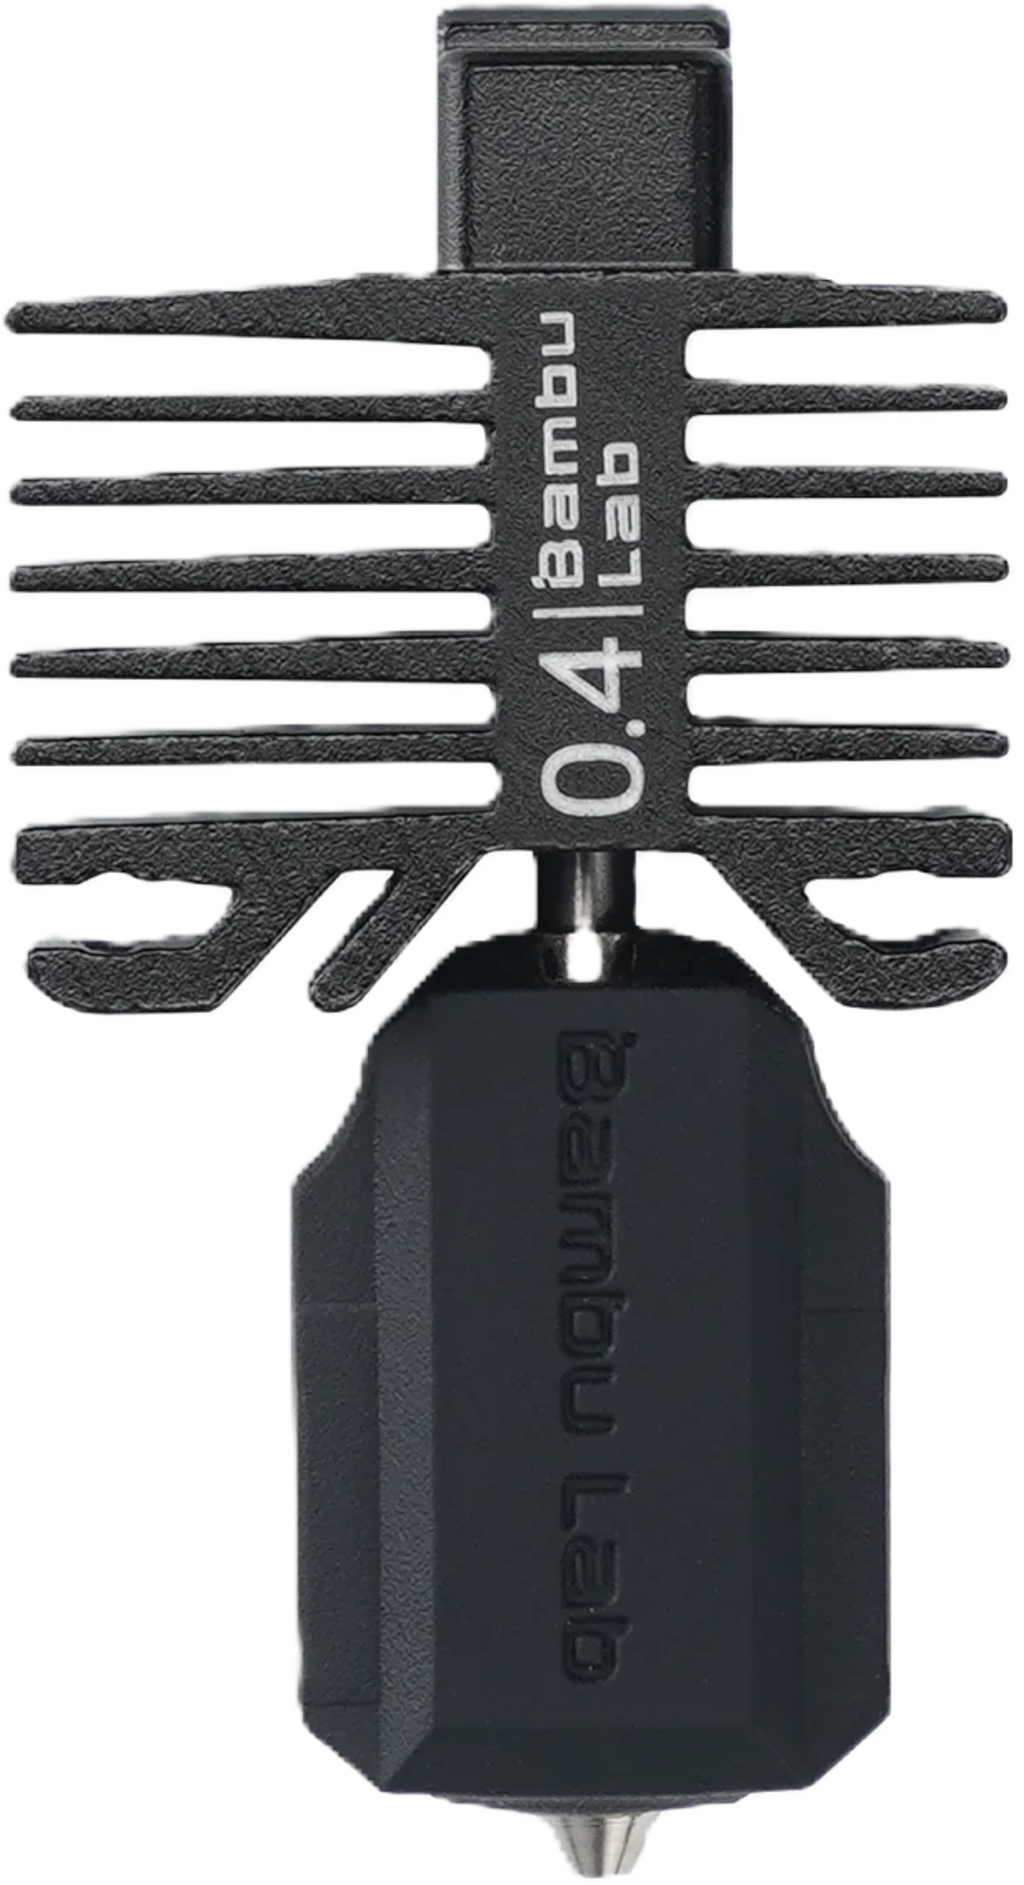
Hotend: P1 Series 0.4 mm hardened steel. The stock stainless nozzle wears out quickly on abrasive filaments such as PLA-CF, PETG-CF and glow-in-the-dark. Swap this in before you try any of them. You move the heater and thermistor over from the old hotend, so follow Bambu's wiki guide and allow about 15 minutes.
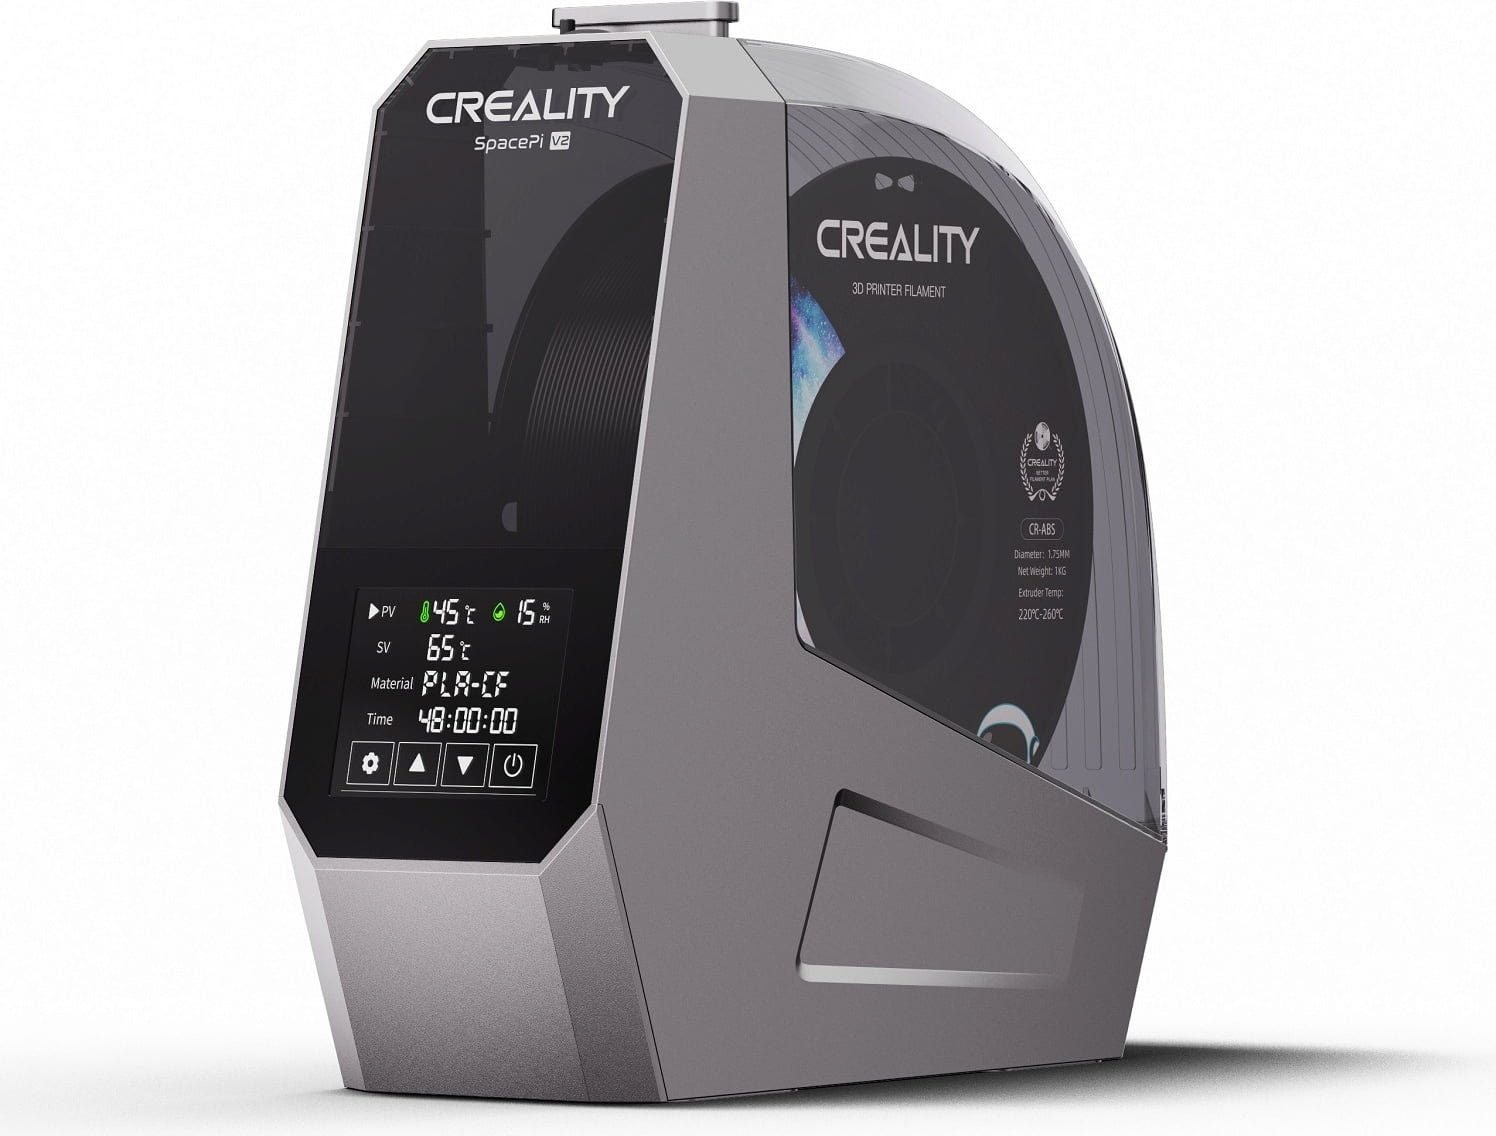
Dryer: Creality Space Pi V2. PETG and most engineering filaments absorb moisture from the air. Wet filament causes stringing, bubbles and weak layers. Drying PETG for a few hours before a long print fixes more "mystery" problems than any slicer setting.
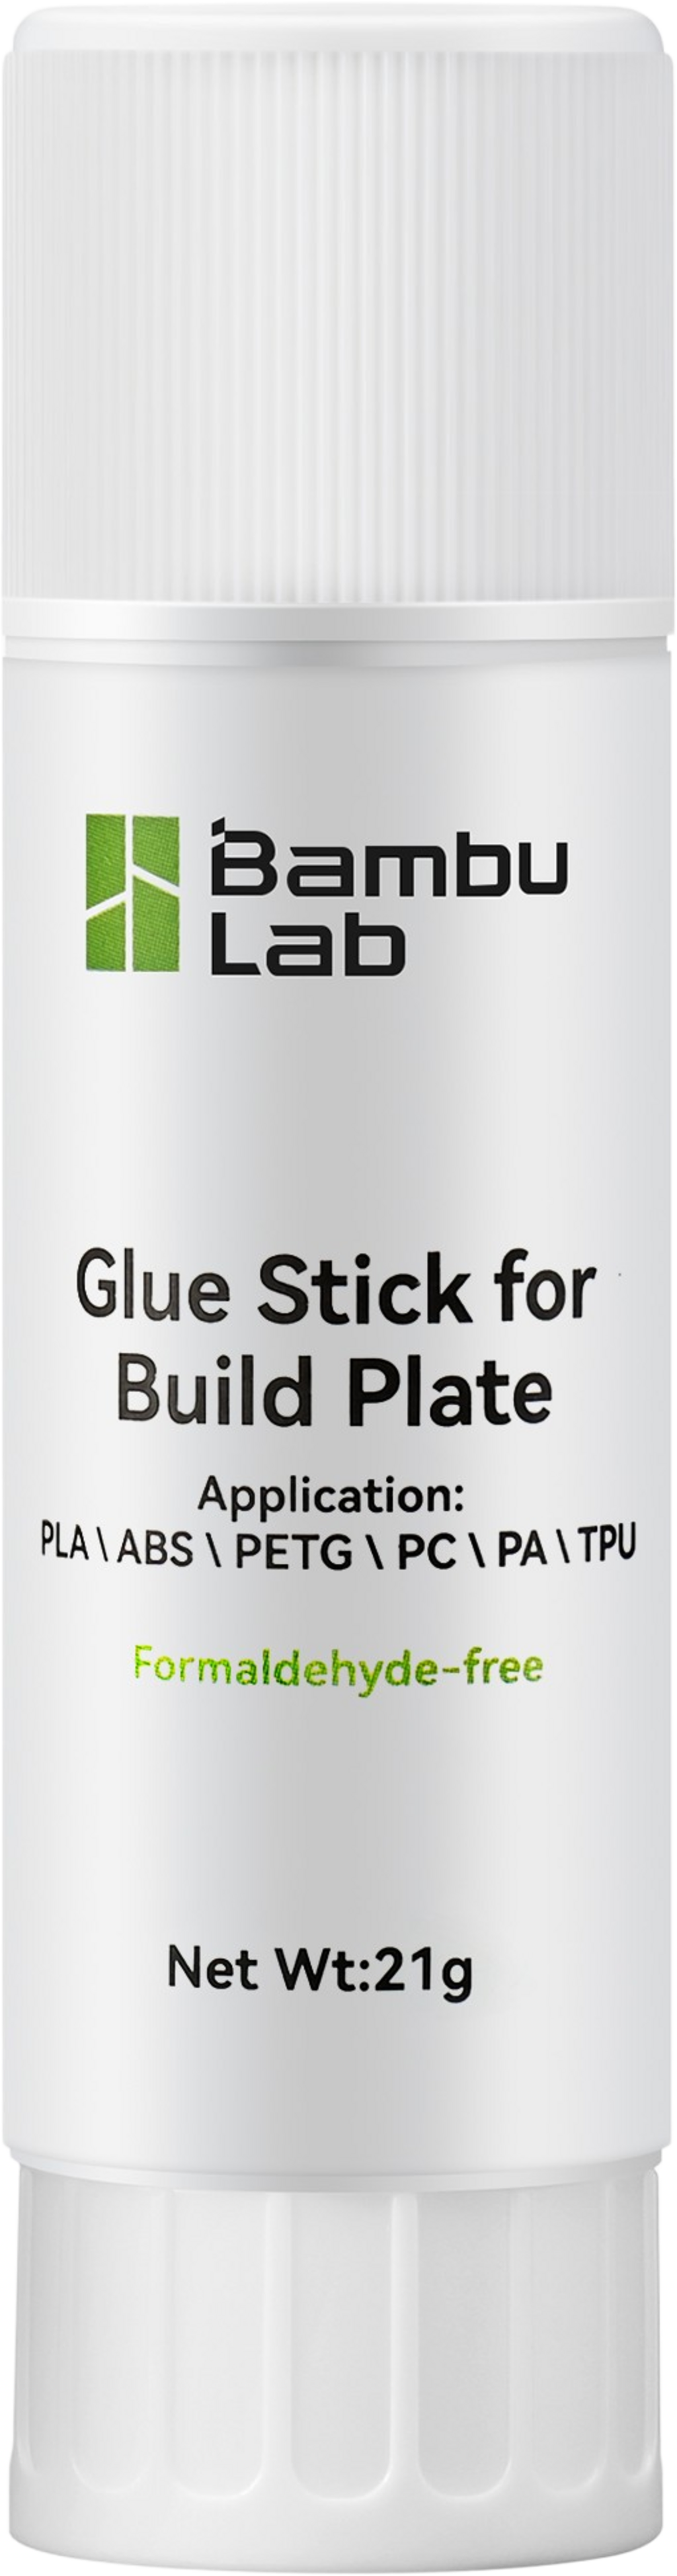
Glue stick. Cheap insurance for big ABS/ASA parts that want to lift at the corners, and a release layer for PETG if you ever print it on a smooth plate.
First-day checklist
- Remove all the transport screws and foam (the quick-start guide shows where they are), then run the full calibration from the screen.
- Wash the build plate with dish soap before the first print. Don't touch the surface with your fingers afterwards.
- Print a benchy or a calibration cube in PLA to make sure everything works.
- Set the filament type correctly in Bambu Studio for every spool. Most "bad print" reports come from the wrong material profile.
Upgrades that can wait
- AMS if multicolor printing becomes something you actually want.
- 0.6 mm hardened nozzle for faster, stronger functional parts.
- A smooth PEI plate if you want glossy bottom surfaces.
Prices in this build update automatically from the stores we track, so check the total above before you buy.
Advertisement
Build Parts & Store Pricing
All components in this build with latest merchant pricing.
Compatibility: no issues found.